Compost Resources & How-to Guides
Discover practical compost application tips and expert gardening advice.
The Benefits of Compost
It's all about soil health
Reduces the Need for Artificial Fertilizers
Compost acts as a slow-release source of nutrients, providing plants with essential elements like nitrogen, phosphorus, and potassium over an extended period. Unlike synthetic fertilizers, which can leach away or cause nutrient runoff, compost binds nutrients within the soil matrix. This natural delivery system ensures plants receive steady nourishment, significantly lowering the cost and environmental impact of purchasing chemical alternatives.
Improves Soil Structure
Adding organic matter through compost helps "glue" soil particles together into clumps called aggregates. This creates a crumbly, porous texture that prevents the soil from becoming overly compacted. In heavy clay soils, compost adds much-needed space for air and roots to move; in sandy soils, it provides the substance necessary to keep the ground from simply blowing or washing away.
Improves Water Retention
Compost functions much like a natural sponge within the earth. Because organic matter can hold several times its own weight in water, compost-enriched soil stays moist much longer than depleted soil. This resilience is vital during dry spells, as it reduces the frequency of watering required and protects plants from the stress of drought by keeping moisture available at the root zone.
Increases Soil Fertility
Beyond the basic "Big Three" nutrients, compost introduces a wide array of micronutrients—such as iron, manganese, and copper—that are often missing from commercial fertilizers. It also improves the soil's Cation Exchange Capacity (CEC), which is the soil's ability to hold onto nutrients and prevent them from washing away. This creates a "nutrient bank" that plants can draw from whenever they need to grow.
Increase Microbial Activity
Healthy soil is a living community, and compost is the fuel that powers it. It introduces and feeds beneficial microorganisms, including fungi, bacteria, and earthworms, which break down organic matter into forms that plants can actually absorb. This biological activity also helps suppress soil-borne diseases and pests, creating a robust natural defense system for your garden.
How to Use Compost
Beyond the basics

Do I Need Soil or Compost?
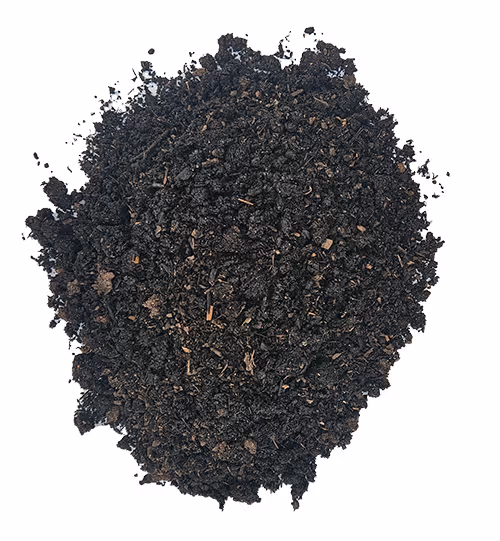
This is a common question. Are you comfortable with the soil you currently have? If your soil is 'too compact', 'poor' or 'worn out' then you likely need 100% Black Earth Compost. This gives you more bang for your buck because you are putting all your dollars towards 100% compost which will add nutrients, microbes, and improve water retention in your soil. However, if you are concerned about metal or oil contamination in your soil, then you want to buy a soil blend to cover over and act as a barrier to your current soil.
Compost is not a soil replacement, it is a soil amendment!
How to Use Compost in Planting and Maintaining Flower Gardens and Landscaping
Add 2-3 inches of compost (4-5 inches for poor or new beds), then mix it with shovel or tiller until it is incorporated.
Dig a hole where you want to plant and save the excavated loam. Mix the loam 50/50 with Black Earth Compost and use this blend in the bottom of the planting hole and to pack in around the plant.
To feed established plants, put 1-2 inches of compost in ‘drip zone’ of the tree shrub or perennial. Keep compost away from the trunk or stem.
How to Install or Patch a Lawn
Apply a approx. 1/4 – 1/2 inch thick layer of compost. Spread grass seed heavy. Then use a spring rake to incorporate the seed into the soil. Seed will still be visible when you are done. Keep soil moist during first 2 weeks of germination!
Spread 2-4 inches of Premium Soil Blend over disturbed area. Seed as above.
If lawn is just thin but needs a reseeding, follow this procedure but with 100% Black Earth Compost, otherwise use the Premium Soil Blend. Wheel barrow enough Premium Soil Blend to cover existing soil by 1/2 inch. Use spring rake to distribute it between blades of grass and bare spots. Then seed as above.
Apply 1 inch of 100% Black Earth Compost down first, then lay down sod.
How to Install or Revive a Vegetable Garden
Fill to slightly above the brim with the Premium Soil Blend.
Top off with Premium Soil Blend. If your topping off 3 inches or less or the bed has been neglected, you can top off with 100% compost instead.
Cover over an existing surface with the Premium Soil Blend to create new growing space. Before adding, break up and loosen original soil surface for better results. The idea is to break up any barrier to root penetration.
Add 2-3 inches of compost (4-5 inches for poor or new beds), then mix it with shovel or tiller until it is incorporated.
How to Plant or Fertilize Potted Plants
Mix our compost 50/50 with another soil or loam. For example you can blend our compost with your potting soil from last year. You can also blend it with loam from your yard, or a retail potting soil that you purchase. Black Earth Compost will give your soil a boost to keep flowers and new growth coming into the fall.
This can be used as an alternative to re-potting a plant. Scrape away top 1-2 inches of potted soil, making sure not to disturb roots. Replace with compost.
Raised Bed Gardening Tips
Grow food in any sunny location
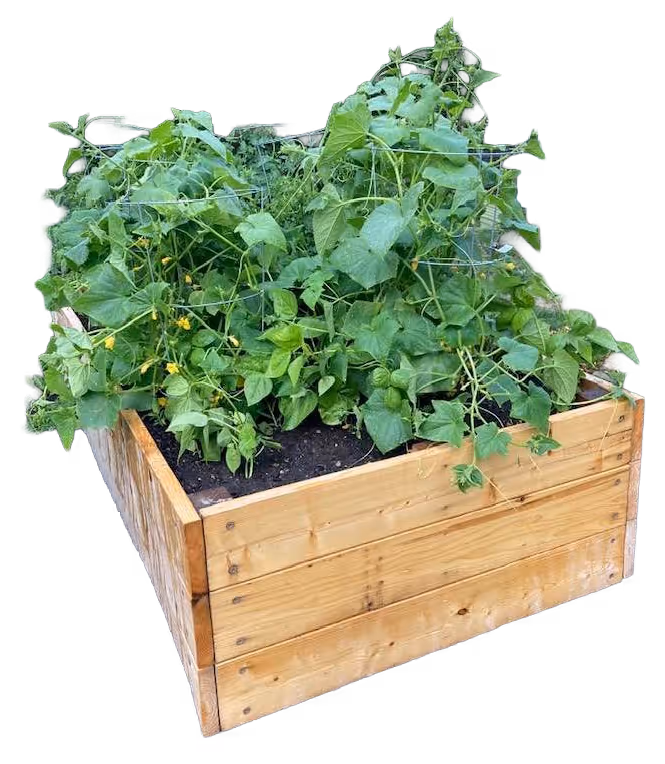
Where to Place
Most vegetables should receive at least eight hours of full sun each day, so choose a sunny spot that is visible to you - so you remember to care for your plants. Their success depends on you. Access to a hose is also a consideration.
Garden Plans
Plan ahead and plot out your space before planting to make the most of your bed. Consider plant space requirements, companion planting, succession planting, and plant supports.Find some inspiration in these pre-designed, themed garden plans from Gardeners Supply and Better Homes and Gardens.
What & When to Plant
Plant food you like to eat. We have a short growing season here in New England. Make sure to consider the time the plant takes to reach maturity and temperature tolerances of the plants you are interested in planting. Check seed packets for this information or speak with a garden center.
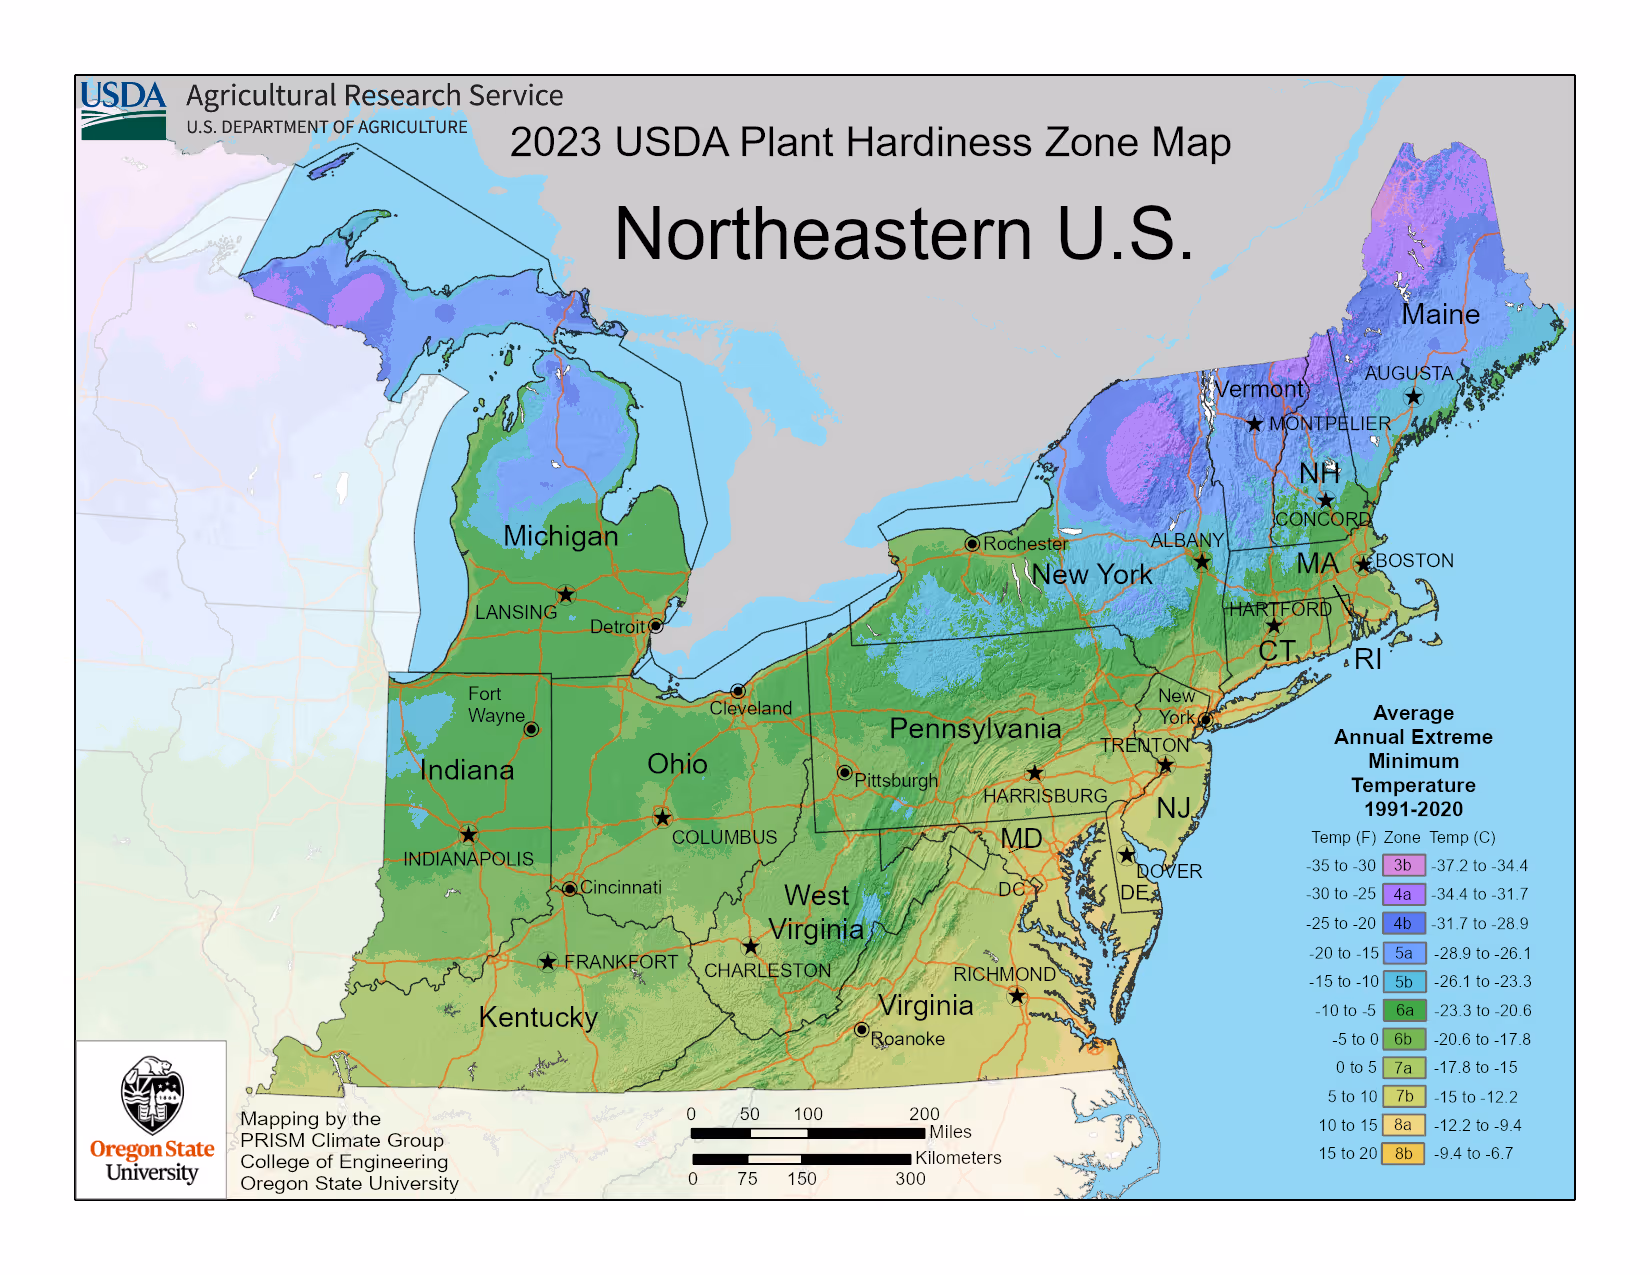
Cool-Season Annuals (Early Spring): Hardy annuals like pansies, snapdragons, and sweet alyssum can be planted in early to mid-April, or as soon as the soil is workable and no longer frozen. These plants are frost-tolerant and actually thrive in the chilly, damp New England spring. In fact, planting them too late can cause them to "bolt" or stop blooming once the summer humidity kicks in.
Warm-Season Annuals (Late Spring/Memorial Day): For heat-loving favorites like tomatoes, zinnias, and marigolds, the "gold standard" rule in New England is to wait until Memorial Day weekend. While southern New England (Zones 6-7) might see its last frost in early May, northern New England and high-elevation areas (Zones 3-5) often face surprise frosts through mid-May. Planting these "tender" annuals before the soil has warmed to at least 60°F can stunt their growth or kill them overnight.
USDA hardiness zones are primarily designed to determine which perennials (plants that live for multiple years) can survive the coldest winter temperatures in a specific region. While they do not provide exact calendar dates for planting, they act as a proxy for your local climate’s "shoulder seasons."
Hydration
Proper watering is less about a strict schedule and more about responding to the specific needs of the soil and the plant. The most effective method is to water deeply and infrequently, rather than giving plants a light daily sprinkle; this encourages roots to grow deeper into the earth, making the plant more drought-resistant.
Always aim your water at the base of the plant to ensure it reaches the root zone directly, and try to keep the foliage dry to prevent fungal diseases.
Pro Tip:
Before grabbing the hose, use the "finger test." Stick your finger about two inches into the soil—if it feels dry, it’s time to water; if it’s still moist, your plant is likely fine for another day.
Best Practices for Success:
Time of Day: Water in the early morning whenever possible. This allows plants to hydrate before the midday heat and gives any accidental splashes on the leaves time to dry before nightfall.
Containers vs. Ground: Remember that pots and hanging baskets dry out much faster than garden beds and may require watering every day during the peak of summer.
Newly Planted: Freshly planted flowers or shrubs need more frequent attention—often daily for the first two weeks—until their root systems are established.
Mulch is essential for keeping soil moist and prevents weeds. There are many different materials you can use to cover your soil between plants; leaf mulch, hay, seaweed, salt marsh hay, dried grass clippings, compost, row fabric, rugs, etc.
Pest Control
Effective garden pest control is most successful when you use Integrated Pest Management (IPM), a strategy that prioritizes prevention and natural solutions over harsh chemicals.
Start by building "plant health" through good soil and proper watering, as healthy plants are naturally less attractive to pests. You can physically protect your crops using floating row covers or mesh, which act as a barrier against insects like cabbage moths. If you spot an infestation, try hand-picking larger bugs (like tomato hornworms) and dropping them into soapy water, or use a sharp stream of water from a hose to dislodge smaller pests like aphids.
Additional Physical Prevention:
Line your raised bed before filling with a galvanized heavy duty hardware cloth to help control rodents.
Install fencing around edge of the bed to keep out animals.
Place hoop and row covers on top to keep out birds and insects.
Use traps for rodents, or bring in predators like a cat or Jack Russel Terrier.
Fall Garden Tasks
Fall is the most important season for setting your garden up for success the following year. It is a time for cleaning, protecting, and planning rather than active growth.
Take the seeds from your best fruits and dry them to plant next season. Let some plants bolt and collect seeds from the flowers. Store is a dark, dry place.
The first priority is removing spent annuals and vegetable plants. Crucially, do not compost any diseased foliage in a home compost system (like tomato blight or powdery mildew). This can inhibit disease, pests, and fungus from overwintering. Dig healthy plants into the soil.
However, you can leave healthy perennial stems and ornamental grasses standing to provide winter interest and shelter for beneficial insects.
Fall is actually the best time to plant spring-blooming bulbs (like garlic, tulips and daffodils) and new trees or shrubs, as the cool air and warm soil encourage strong root growth without the stress of summer heat. You can also dig up and divide overgrown perennials like hostas or daylilies to create free new plants for other areas of your yard.
Since you now know the benefits of compost, fall is the perfect time to spread a 1- to 2-inch layer over your beds. You don't need to till it in; the winter freeze-thaw cycle and earthworms will do the work for you. Additionally, adding a thick layer of mulch (like shredded leaves or straw) acts as a winter blanket, regulating soil temperature to prevent "root heaving" during temperature swings.
Compost for Carbon Drawdown
Turn your yard into a carbon sink
The DRAWDOWN Challenge
Right now, a global effort is being made to increase soil organic matter content by .4% per year in the top 30-40cm of agricultural soils. Think grasslands, pastures and forest soils. We want to raise the bar and extend this movement to suburban lawns, because locally that is the lowest hanging fruit for pulling down carbon from the atmosphere.
Compost in Soil Sequesters C02 from the Atmosphere
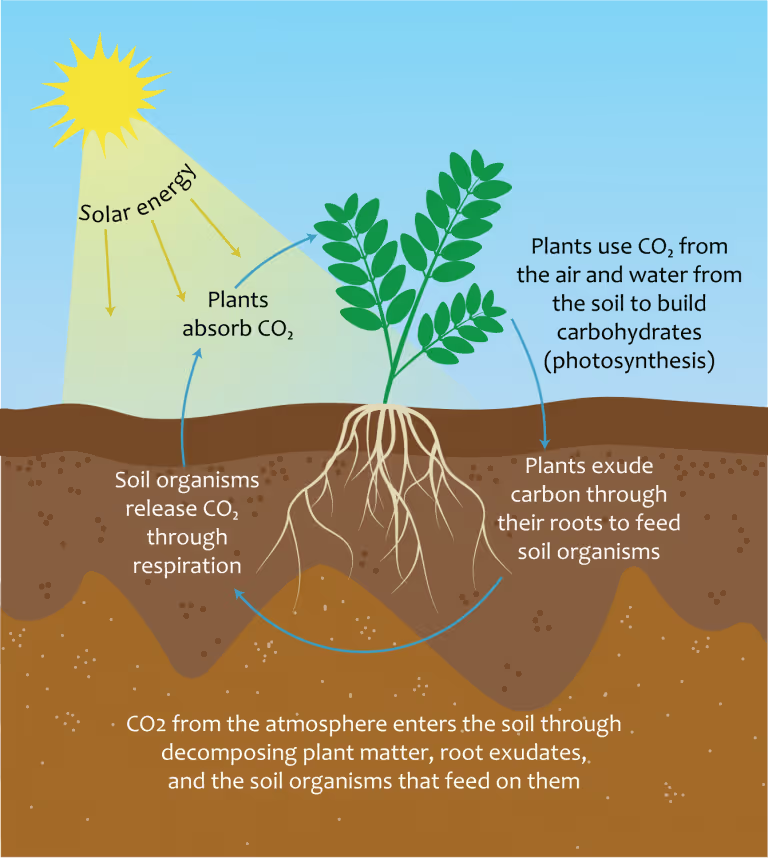
Compost is a powerful tool for climate mitigation because it helps lock carbon in the ground that would otherwise be released into the atmosphere as greenhouse gases.
This process occurs through two primary pathways:
Formation of Humus: During the composting process, microbes break down organic matter into humus, a highly stable form of carbon. When this compost is added to the soil, this stable carbon is "banked" in the earth, where it can remain for decades or even centuries rather than being released as CO2.
The "Carbon Pump" Effect: Compost acts as a biological catalyst. By improving soil fertility and structure, it allows plants to grow larger and deeper root systems. These healthy plants act as "pumps," pulling CO2 from the air through photosynthesis and storing it in their roots and the surrounding soil.
Furthermore, when compost is applied to the soil, it encourages the formation of soil aggregates (clumps of soil), which physically trap and protect carbon molecules from being broken down by microbes and released back into the air. In short, while a rotting plant in a landfill might release methane or CO2, the same plant turned into compost becomes a "sink" that keeps carbon safely underground.
Easy to Implement Carbon Management Practices that use Compost
Spread 1 inch of compost in fall on all garden beds, then incorporate it into soil with light shoveling. Result - Improves your soil for next year’s plantings. Increases Soil Organic Matter. Prepare’s for a cover crop if you desire.
Spread ½ inch of compost in the drip line of all trees. Starting 3 ft from trunk out to edge of dripline. Result - Puts the compost right where the tree’s feeder roots are. Leads to stronger trees, more shade, more soil development by the tree.
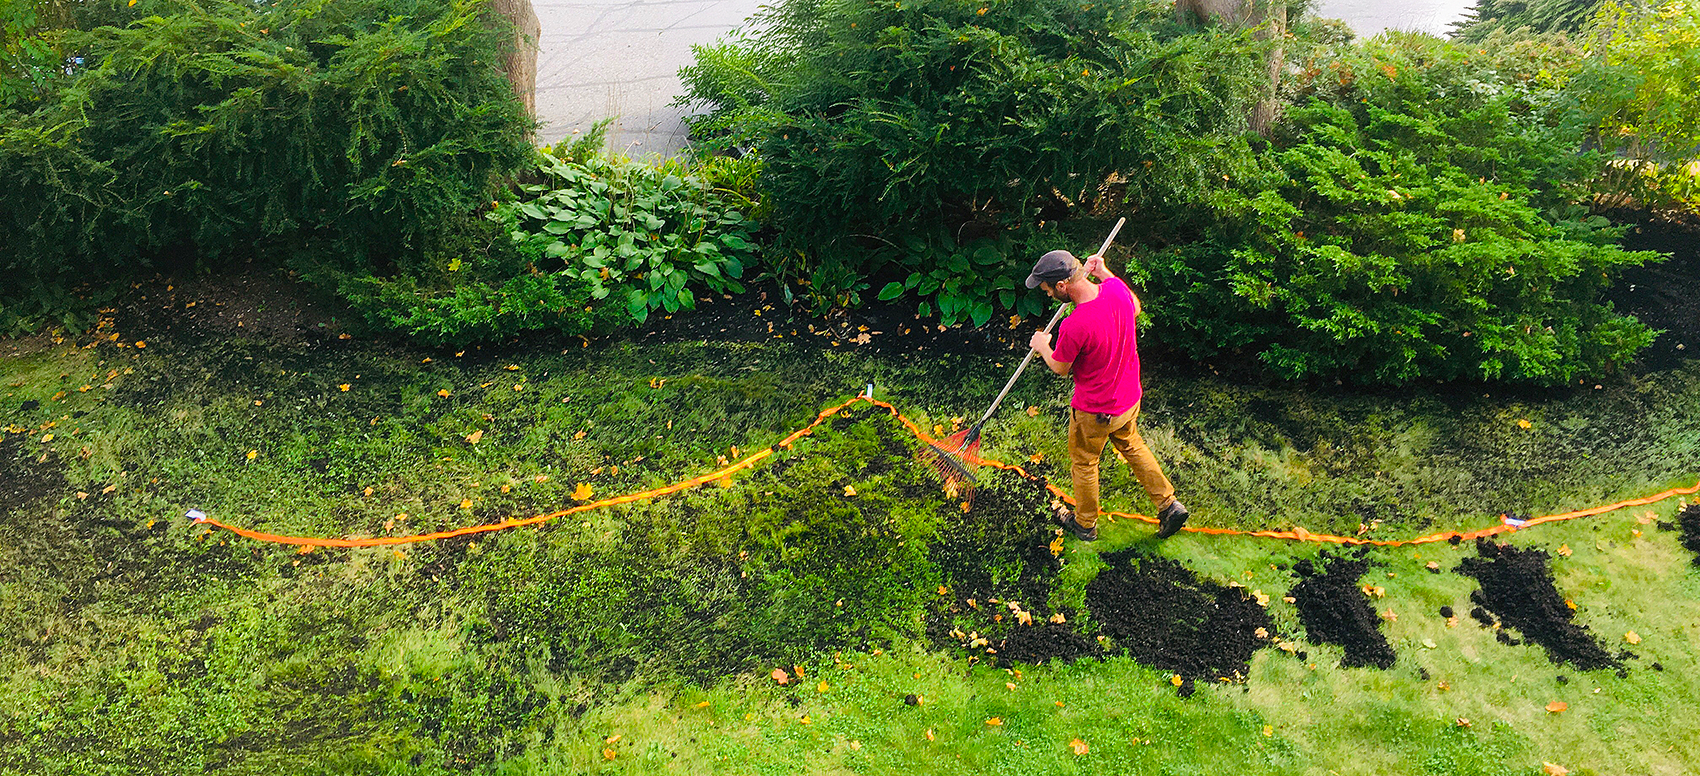
Spread compost with a shovel on your lawn, then use a spring rake to distribute it between the grass blades. If seeding the grass, spread seed before spreading compost. Thatch mow after to act as a mulch on top. Result - The thatch layers over the compost which keeps it moist and thus active. Doing this layering once per year and thatching everytime you mow will build up organic matter in your soil.
Additional Simple Carbon Management Practices for your Yard
1. Cut grass taller. Raising your blade by ½ inch can give you another 5-10 days between mows. Some landscapers may not want to do this because it messes up their schedule. However fewer mows means less gas burned and more resilient grass. Short grass is very susceptible to drying out.
2. Plant a pollinator garden. Dig up 4ft x 4ft area of lawn. Shake out dirt (Compost the grass). Add compost. Spread pollinator seed packet (ideally one that is hardy for fall planting). Result - Promotes pollinators. Discover the myriad of pollinators that come to your new garden.
3. Grow greens. Greens need to be fresh at the grocery store, which means lots of refrigeration, transportation and ultimately waste when they go bad. Grow greens at home to tap into Black Earth’s mineral content. Look up Cut-and-Come-Again greens on the Internet. Result - Fresh greens every night through fall.
4. Plant a tree. Start new trees coming up in your yard to replace existing ones that may come down in the future. Consult your local tree warden on what types of trees and how to plant. Utilize trees on the sunny sides of your home to reduce heat gain (and thus home cooling needed). Use compost when planting the tree and loosen soil in a large hole for the new tree.
5. Grow plants from seed. Buying starters (especially trees and bushes) from a garden center requires a lot of carbon output to get those starters from the farm to you. Trying to replicate nature is easy, and an acorn turns into a hearty tree seedling in a season. Grow these indoors or away from squirrels/chipmunks for the first 2 years before planting. Result - Gives you ‘free’ trees. Pride of growing your own trees. Choice of trees.
Community Management Practices
1. Share your tools - Just because mowers, hedge trimmers, leaf blowers, weed wackers etc. are becoming electric, does not mean there is zero impact. These tools only get used by each homeowner a few times each year. That is a lot of idle copper/lithium and other mined minerals sitting in sheds. Consider sharing your yard equipment with your neighbour to reduce the total amount of materials society needs. If each house shared with 1 other house, we could halve the amount of power tools needed. That is the power of going from 1 to 2!
2. Create or join a community garden group. Share plants and knowledge. Convert community spaces into more garden plots.